
How to Solve the Control Resonant Laundry Puzzle (Wear’Em & Wash’Em)
Last updated 2026-09-25 · Verified against Three recorded playthroughs and the in-game note and reward screens · 6 min read
How do you solve the laundry puzzle in Control Resonant?
On this page
Behind a blocked storefront in Central, the Wear’Em & Wash’Em laundromat hides a 0/1 binary grid puzzle. Setting the exact sequence of running washing machines unlocks a secret basement door in the break room. Below is the direct row-by-row code, room layout map, and the exact machine to activate in Row 7.
Washing machine code solution (all 7 rows)
The grid on the note reads:
0001000
001100
100001
000000
000000
000000
100000
Each line is one row of machines, counted by position around the room from the left wall as you enter. 1 means on, 0 means off. Only six machines should be running when you are done:
| Row | Code | Switch on | Where that row is |
|---|---|---|---|
| 1 | 0001000 | The 4th of 7 — the middle one | The long row on the left wall, coming in from the street |
| 2 | 001100 | The 3rd and 4th — the middle two | Left center island, the face toward the left wall |
| 3 | 100001 | The 1st and 6th — the two ends | Same island, the face toward the center aisle |
| 4 | 000000 | None | Right center island, the face toward the center aisle |
| 5 | 000000 | None | Right center island, the face toward the right wall |
| 6 | 000000 | None | Right wall, the back section by the break room |
| 7 | 100000 | The 1st one | Right wall, the front section by the street entrance |
Once all six machines are humming, walk straight into the rear break room. The back wall slides open automatically to reveal the basement stairs. You do not need to press any master switch or lever.
Where to find the Wear’Em & Wash’Em laundromat in Central
The laundromat is in Central, in the block marked on the map near East Park Station. Skip compass directions — the reliable landmarks are the blue Wear'Em & Wash'Em storefront sign and the doorway blocked by floating debris.
- Map with the laundromat area marked near East Park Station in Central
- The Wear'Em & Wash'Em storefront sign on the street
How to break the red Hiss barrier at the entrance
The storefront doorway is barred by floating debris tethered to pulsating red corruption trails. Follow each red trail away from the entrance and destroy the growth at its source. Clear the linked growths to remove the doorway obstruction.
Inside the laundromat, read the Laundry Puzzle note headed "While You Wait" on the wall. It contains the 7-row binary note.
How to read the note: mapping 0s and 1s to each row
Facing inward from the main entrance, identify the wall sections and both faces of each island:
- Row 1 (Left wall): The long single line of 7 units along the left exterior wall. Turn on Machine 4 (the exact middle unit).
- Rows 2 & 3 (Left island): The center island has two faces. Row 2 faces the left wall (turn on Machines 3 & 4). Row 3 faces the central walkway (turn on Machines 1 & 6 — both outer ends).
- Rows 4 & 5 (Right island): Both faces remain completely OFF (all 0s). Switch off any unit that is already running.
- Rows 6 & 7 (Right wall): Divided into two distinct sections by a concrete structural pillar. Row 6 (rear section near the break room) is completely OFF. Row 7 (front section near the entrance) requires one machine.
- Note on stacked dryers: Vertically stacked drums share a single binary slot — count columns across the floor, not individual drums.
Row 7 solution: which machine to activate
Which end of Row 7 counts as the first machine?
Row 7’s code is 100000, but counting direction reverses based on your viewing angle. On the right wall’s front section (between the street door and the divider pillar), activate ONLY the unit immediately touching the concrete divider pillar (the end farthest from the street entrance). The machine nearest the front door is the wrong end of this row.
Troubleshooting: what to check if the door stays closed
If the back wall has not opened, work this list before anything else:
- Check the right side of the room: Rows 4, 5, and 6 must be entirely silent. If a single unit on the right island or back wall is humming, the door will not trigger.
- Count through "Out of Order" signs: Broken units cannot be turned on, but they still occupy a digit in the code. Count every physical unit in the line regardless of maintenance tags.
- Verify Row 7: Make sure the active unit is the one beside the pillar, not the front door.
- Check drum lights: Rely on the individual green/amber power indicator on each washer console, not ambient room lighting.
The Customer Note on the wall complains that not a single row works properly — that is the game nudging you toward exactly this checklist.
Basement rewards: Health Upgrade Point and Secret Hideout
The secret staircase leads down into an underground shelter. In the main chamber sits a Third Ice chest containing a permanent Health Upgrade Point. (Control Resonant calculates health upgrades in sets of three: collecting three points permanently raises Dylan’s maximum HP bar).
- The Third Ice chest and the Health Upgrade Point 1/3 prompt in the basement
- The same chest on another save showing Health Upgrade Point 3/3
For how upgrade points differ from Source and Living Shards, see the upgrade resource guide.
The adjoining bunker rooms contain two lore files (Visitation And Stay Protocol and Do Not Leave The Shelter). This bunker is 1 of the 6 Secret Hideouts required for the Backroom Espionage trophy — see all Secret Hideout locations for the other five.
For another Secret Hideout, solve the Konstig painting puzzle in the Evacuation Zone.
For more exploration puzzles, follow Every Dog Has Her Day, find the seven cabs in The Last Taxi, or solve The Complete Set placement puzzle.
FAQ
In the Wear’Em & Wash’Em laundromat in Central, near East Park Station. Look for the blue storefront sign; the doorway is blocked by floating debris until you clear the growths feeding it.
Yes. Red trails lead from the blocked doorway to the growths holding it shut. Follow each trail and destroy what you find at the end — when they are gone, the door clears.
Each line of the note is one row of washing machines: 1 means switched on, 0 means off. Six machines should be on in total, and rows four through six are all-off.
The rows are not floors. The two center islands count one row per face, and the right wall counts as two sections. Row order follows position around the room, starting from the left wall as you enter — read the room that way and the note lines up.
A Health Upgrade Point from the Third Ice chest in the basement — collect three to raise your maximum health — plus two readable shelter files, and one of the six Secret Hideout locations.
It counts as one of the six Secret Hideouts tied to the Backroom Espionage trophy. The trophy needs all six, so this puzzle alone does not pop it.
Sources
- [1]Laundry puzzle full solve recording · I.Eat.Games.
- [2]Laundry puzzle solve recording (second run) · GosuNoob
- [3]Laundry puzzle route recording · 100% Guides
- [4]How to solve the Central laundromat puzzle · Method · 2026-09-22
- [5]How to solve the laundry puzzle in Central · Destructoid · 2026-09-22
- [6]Control Resonant Wear’Em & Wash’Em puzzle guide · Game Rant · 2026-09-22
- [7]All Secret Hideouts locations · Game Rant · 2026-09-22
- [8]Control Resonant Trophy List · Beebom · 2026-09-23
Related guides
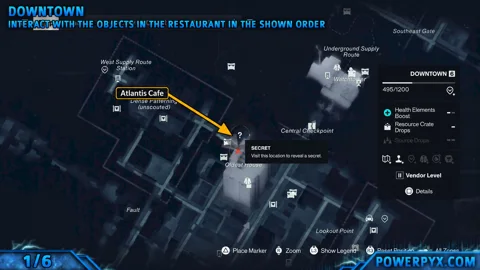
All Secret Hideout Locations and Puzzle Solutions in Control Resonant
Find all six Secret Hideouts in Control Resonant, solve each shop puzzle, collect Health Upgrade Points and unlock Backroom Espionage.
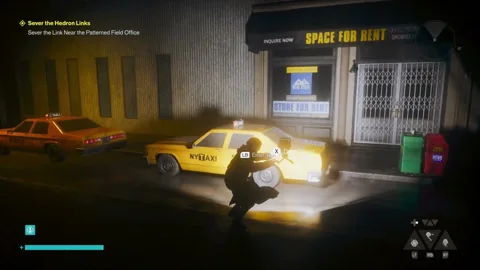
Control Resonant The Last Taxi: All Taxi Locations and Puzzle Solutions
All seven taxi locations in Control Resonant’s The Last Taxi, with all three puzzle rounds solved for each — plus the final payphone call.
Light spoilers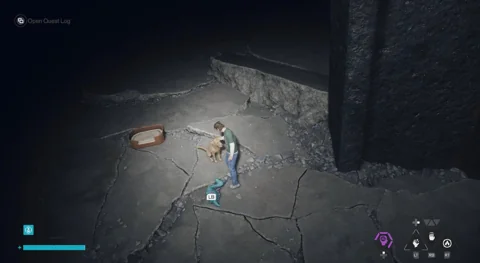
Control Resonant Dog and Toy Locations (Every Dog Has Her Day)
Find all 7 dog toy locations in Control Resonant, with maps, routes and return paths. Complete Every Dog Has Her Day and unlock the Dog's Best Friend trophy.
Things Control Resonant Doesn't Tell You
Learn Control Resonant’s easy-to-miss mechanics: Build Power, upgrade points, resets, artifact trade-offs, and how combat abilities use and recover Power.
Light spoilers