
Control Resonant Painting Puzzle: How to Solve the Könstig Art Gallery
Last updated 2026-09-29 · Verified against Three recorded runs through the Könstig gallery, cross-checked frame by frame · 7 min read
What is the painting puzzle in Control Resonant?
On this page
The Könstig gallery in the Evacuation Zone hides one of the six Secret Hideouts. The Paintings Sold receipt on the front desk lists Journey, Windows, Thunder and Tides. Light the matching painting in each of the four groups.
Which paintings to light (the four solutions)
Face each trio and leave the spotlight on the painting below.
Paintings Sold: the four target keywords
| Sold word | Painting to light | Position in its trio |
|---|---|---|
| Journey | A road leading toward a tree | Middle |
| Windows | Branches curling into loops | Left |
| Thunder | A lone tree in a green field | Left |
| Tides | A fallen tree lying over water | Middle |
Positions are as you face that trio. From the front desk, Journey is the group on your left; the other three continue clockwise.
Visual descriptions: how to identify the four correct paintings
- Journey, middle. A road leading toward a tree.
- Windows, left. Branches curling into loops.
- Thunder, left. A lone tree in a green field.
- Tides, middle. A fallen tree lying over water.
The road is the journey, the looped branches are the windows, the lone tree in the open field is thunder, and the fallen tree in the water is tides.
Where is the Könstig art gallery in the Evacuation Zone?
Fast travel route and the Echo exhibition entrance
- Take the Fast Travel Door in the Evacuation Zone and continue past it to the gallery.
- Clear the enemies outside.
- Step in. The wall behind the front desk reads Echo, the exhibition by Charlie Meecham, with the Könstig name under it.
- The Könstig gallery area on the Evacuation Zone map
- The gallery front desk under the Echo exhibition wall by Charlie Meecham
How the painting puzzle and spotlight switches work
Four groups of three paintings fill the room. Each group has a switch on a nearby column. Press the switch and that group's spotlight moves to the next painting. Leave it on the painting that matches the sold word.
Why you should match the painting instead of counting clicks
Match the lit painting. Do not follow a fixed count such as 2-1-1-2. That count fits one starting arrangement. If a switch has already been pressed, keep cycling until the target painting is the one in the light. When all four are right, every exhibition light in the room turns on.
Gallery layout: from the front desk to the hidden passage
Clockwise room sequence: Journey, Windows, Thunder, Tides
Start at the front desk. The Journey group is on your left. Windows, Thunder and Tides continue clockwise.
Where the secret doorway opens (Journey wall right corner)
When the room lights up, go back to the Journey wall. Facing that trio, the passage opens at the wall's right corner. A panel slides away, and stairs lead down to a storage room.
Why won't the hidden passage open? (Troubleshooting)
Confirming the room-wide lighting cue
When all four paintings are right, every exhibition light turns on at once. If the room stays dim, one group is still on the wrong painting.
Checking each individual spotlight
Walk Journey, then Windows, Thunder and Tides. The spotlight has to sit on the target painting in each group. Use the column switches. A hand flashlight does not move the exhibit spotlights.
Rewards and Secret Hideout progress
Three collectible documents and Health Upgrade Point
The storage room downstairs holds three documents — Workshop Journal Entries, Proposed Enforcement and After-Action Summary — and a chest with a Health Upgrade Point. Three points raise your maximum health.
- The Workshop Journal Entries document in the storage room
- The Proposed Enforcement document in the storage room
- The After-Action Summary document in the storage room
Backroom Espionage trophy progression
This hideout is one of the six Secret Hideouts. The Backroom Espionage trophy tracks all six, so this puzzle is one of them. For the full set, see all Secret Hideout locations; for the other hideout puzzles, see the laundry puzzle and the Urban Fresh Mart register puzzle.
FAQ
The four that match the Paintings Sold note: the road leading toward a tree (Journey, middle), the branches curling into loops (Windows, left), the lone tree in a green field (Thunder, left) and the fallen tree lying over water (Tides, middle). Positions are as you face each trio.
Match the picture to the word. The road leading toward a tree is Journey. Branches curling into loops are Windows. The lone tree in a green field is Thunder. The fallen tree lying over water is Tides.
In the Evacuation Zone, past the Fast Travel Door. Clear the enemies outside, then enter — the wall behind the front desk reads Echo, the exhibition by Charlie Meecham.
One of the four groups is still on the wrong painting. Ignore click counts like 2-1-1-2 — they assume a fresh initial state and drift if you have already pressed switches. Cycle each group’s switch until the target painting itself is lit; when all four are right, every exhibition light in the room turns on.
A storage room with three documents — Workshop Journal Entries, Proposed Enforcement and After-Action Summary — and a chest with a Health Upgrade Point. Three points raise your maximum health.
Yes, one of six. The Backroom Espionage trophy tracks all six hideouts, so this puzzle is one leg of it — solving it alone does not pop the trophy.
Sources
- [1]Könstig Art Gallery Puzzle — Secret Hideout recording · Postmode
- [2]Painting Puzzle in Art Gallery recording · GosuNoob
- [3]Art Gallery Puzzle Solution recording · 100% Guides
- [4]Paintings Sold secret puzzle guide (Evacuation Zone) · TheGamer · 2026-09-22
- [5]Könstig painting puzzle guide (Journey, Windows, Thunder, Tide) · GameRant · 2026-09-22
- [6]How to solve the art gallery painting puzzle · AllThingsHow · 2026-09-25
Related guides
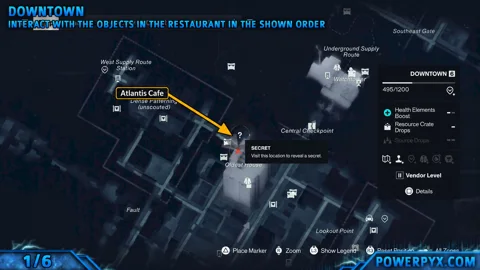
All Secret Hideout Locations and Puzzle Solutions in Control Resonant
Find all six Secret Hideouts in Control Resonant, solve each shop puzzle, collect Health Upgrade Points and unlock Backroom Espionage.
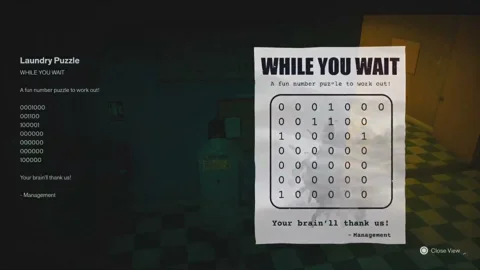
How to Solve the Control Resonant Laundry Puzzle (Wear’Em & Wash’Em)
The Wear’Em & Wash’Em laundromat in Central hides a Health Upgrade Point behind a 0/1 grid. Which machines to switch on, row by row — and how to read it.
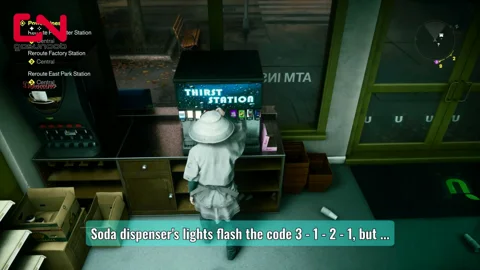
Control Resonant Soda Puzzle: The Soda Machine Code and the Soda Dispenser Tests
Two puzzles share the name: the Urban Fresh Mart soda machine (code 1213, reversed lights) and the Testing Facility soda dispenser tests.