
Control Resonant Soda Puzzle: The Soda Machine Code and the Soda Dispenser Tests
Last updated 2026-09-29 · Verified against Five recorded runs across the mart and all three testing facilities · 8 min read
What is the soda puzzle in Control Resonant?
On this page
Two puzzles in Control Resonant share the soda name. They sit in different districts, and they do not share steps or rewards.
- Urban Fresh Mart soda machine (West Incursion Zone). A Secret Hideout. The machine flashes 3-1-2-1, the Reversed Drink Order note flips it, and the register takes 1213.
- Testing Facility soda dispenser tests in Downtown, the Evacuation Zone and the West Incursion Zone. Unsupervised Science. Carry objects across yellow lines until they take the Soda Dispenser form, set one in every designated yellow square, then pull the lever.
Jump to your puzzle:
The Urban Fresh Mart soda machine code (1213)
The Urban Fresh Mart is in the West Incursion Zone. Behind the counter, the register shows an ENTER CODE prompt. The code comes from the machine beside it.
How to decode the 3-1-2-1 flashing lights
- Watch the Thirst Station machine. Its lights flash 3-1-2-1.
- Read the Reversed Drink Order note from Management. The drink order is reversed.
- Reverse the flashes. 1213 is the register code.
Where to enter the code and find the hidden room
Use the JASIO register. Enter 1213 at the ENTER CODE prompt. The hidden room opens behind the counter.
- The Urban Fresh Mart storefront in the West Incursion Zone
- The Reversed Drink Order note from Management
- The JASIO register showing ENTER CODE
- The hidden room opening behind the register
Inside is a Health Upgrade Point. Three points raise your maximum health.
How the Testing Facility soda dispenser puzzle works
Three facilities run the same experiment on the Unsupervised Science line. The Shutdown Instructions on the wall require every designated Impermanence area to hold the default Soda Dispenser state. Only then do you operate the lever.
Yellow transformation lines vs. yellow target squares
The floor uses two marks:
- Yellow lines transform. Carry an object across one and it changes form. Keep crossing until it is a Soda Dispenser.
- Yellow squares are targets. Put that Soda Dispenser in a square.
How to turn objects into the Soda Dispenser form
- Pick up an object and carry it across yellow lines until it is a Soda Dispenser.
- Carry it to an empty yellow square. Crossing another yellow line on the way changes the form again.
- Fill every designated yellow square in that facility.
- Pull the lever.
Testing Facility Reade in Downtown
How to locate the sunken underground entrance
Testing Facility Reade is in Downtown. The entrance is below street level: a lower passage, not the street-facing door. The facility log confirms the shutdown once you are done.
- The Reade testing facility area on the Downtown map
- The lower passage entrance to Testing Facility Reade
Testing Facility Pearl in the Evacuation Zone
Testing Facility Pearl is in the Evacuation Zone, beside the Survivalist's Bunker. The name wall inside reads TESTING FACILITY PEARL. The floor uses the same lines and squares.
- Placing the Soda Dispenser form into a yellow square at Pearl
- The Pearl console after the placements
Testing Facility Broadway in the West Incursion Zone
Testing Facility Broadway is in the West Incursion Zone, south of the House of Mirrors and north of the West Supply Route. The entrance is a drainage pipe off the street, and the map marks it once you are close. Use the pipe. The surface marker is not the door.
- Testing Facility Broadway on the West Incursion Zone map
- The Broadway drainage pipe entrance, arrow added
Why the last object or console is not working
If the lever does nothing, check the room in this order.
Accidental line crossing and form resets
Crossing a yellow line changes the object's form. A dispenser you already made becomes something else if you cross another line while carrying it. Look at what is sitting in each square now.
Confirming every designated square before pulling the lever
Every designated yellow square has to hold a Soda Dispenser. An empty square leaves the shutdown short. Pull the lever last. The Shutdown Instructions put the lever after the placements.
Rewards and Unsupervised Science progress
Health Upgrade Point vs. Power Upgrade Points
The two puzzles do not share a reward.
- Urban Fresh Mart. The hidden room is a Secret Hideout. Inside is a Health Upgrade Point. Three points raise your maximum health.
- Testing facilities. Each shutdown advances Unsupervised Science. A Power Upgrade Point sits on the same collect-to-upgrade track as the Health Upgrade Points. One point is not a full Power upgrade.
Secret Hideout and Threshold Researcher trophy progress
The mart's hidden room is one of the six Secret Hideouts — for the full set, see all Secret Hideout locations. For the city's biggest collectible ritual, see The Complete Set.
Threshold Researcher tracks three quest lines: Unsupervised Science, The Last Taxi and Crossing the Threshold. The facilities count toward Unsupervised Science, one of the three.
FAQ
1213. The Thirst Station machine in the Urban Fresh Mart flashes 3-1-2-1, and the Reversed Drink Order note from Management says the order is reversed — so the register takes 1213.
In the Urban Fresh Mart store in the West Incursion Zone. The machine stands behind the counter; the register with the ENTER CODE prompt is next to it.
Carry an object across a yellow line to transform it, keep crossing until it is a Soda Dispenser, and place it in a yellow square. When every designated square holds a dispenser, pull the lever to shut the facility down.
Check three things: every object currently sitting in Soda Dispenser form (crossing a line again changes it back), every yellow square filled, and the lever pulled last. The shutdown instructions on the wall say exactly that.
Shutdowns advance Unsupervised Science. A Power Upgrade Point sits on the same collect-to-upgrade track as the Health Upgrade Points; one point is not a full Power upgrade. The Health Upgrade Point is in the Urban Fresh Mart hidden room. Threshold Researcher tracks three quest lines, and Unsupervised Science is one of them.
No. The register and the hidden room are a Secret Hideout; the dispenser facilities are the Unsupervised Science line. They share a name, not a reward track.
Sources
- [1]Soda Dispenser puzzle: Downtown shutdown instructions · Postmode
- [2]Urban Fresh Mart soda machine recording · GosuNoob
- [3]How to get to the Testing Facility Reade in Downtown · YouTube
- [4]Testing Facility Pearl soda dispenser puzzle solution · YouTube
- [5]West Incursion Zone testing facility puzzle solution · YouTube
- [6]All experiment locations and puzzle solutions (Unsupervised Science) · AllThingsHow · 2026-09-23
- [7]Testing Facility soda dispenser puzzle solutions · GamesHorizon · 2026-09-23
- [8]How to solve the West Incursion Zone soda machine puzzle · Insider Gaming · 2026-09-23
Related guides
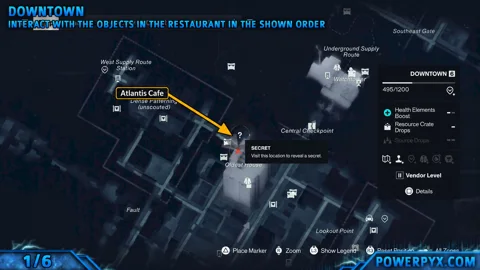
All Secret Hideout Locations and Puzzle Solutions in Control Resonant
Find all six Secret Hideouts in Control Resonant, solve each shop puzzle, collect Health Upgrade Points and unlock Backroom Espionage.
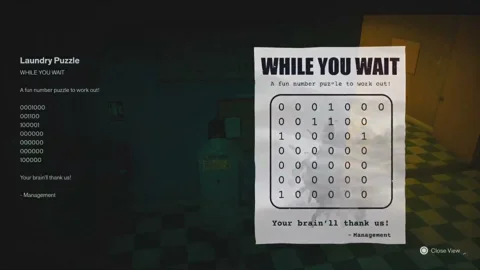
How to Solve the Control Resonant Laundry Puzzle (Wear’Em & Wash’Em)
The Wear’Em & Wash’Em laundromat in Central hides a Health Upgrade Point behind a 0/1 grid. Which machines to switch on, row by row — and how to read it.
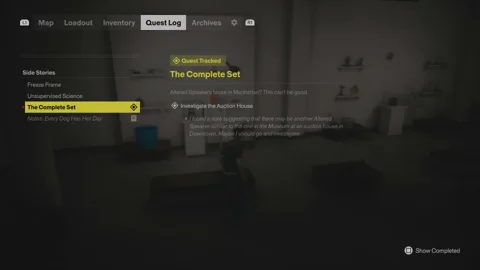
Control Resonant The Complete Set Walkthrough: All 4 Speakers & the Subwoofer
All four speakers and the subwoofer in The Complete Set: locations, the ritual placement, the quick switch-off, and what to do if the final prompt never shows.
Heavy spoilers